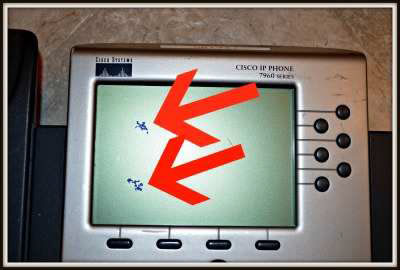
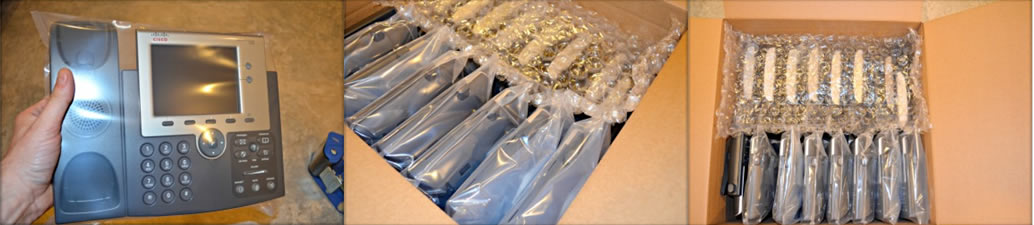
Step 1 – Remove the handsets and handset cords from each phone. These can be packaged separately in their own box. If left attached to the phone base, the handsets can move around inside the shipping box and potentially impact the LCD display on the phone, causing damage to the display as shown in Figure 1 above.
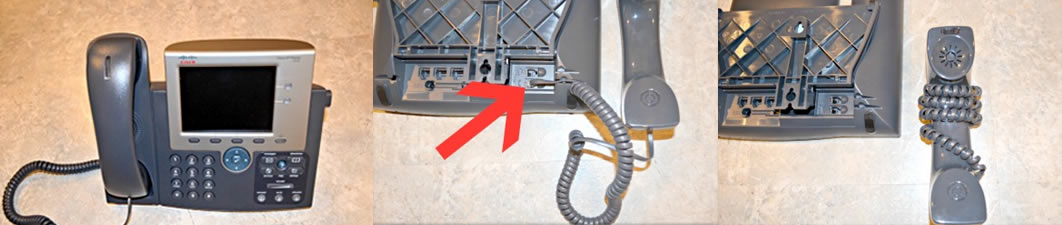
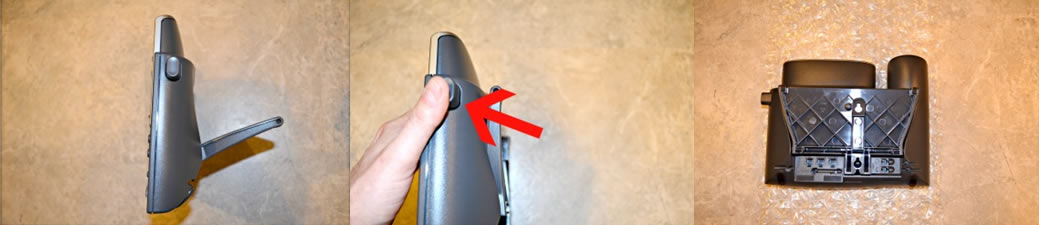
Step 2 – Collapse the phone base stand on each Cisco phone by pressing the stand lock release lever on the righthand side of each phone. For Cisco phones with a non-collapsible base stand, such as the CP-7906G and CP-7911G models, simply leave the base stand attached.
Step 3 – Bubble wrap or poly bag each Cisco phone and tape securely. A single layer of bubble wrap will provide sufficient protection to keep the phones from getting scratched up, and will provide extra protection for the phone’s LCD display. Plastic poly bags are also available from NetEquity.com which are designed to fit Cisco phones and provide an extra measure of protection when shipping.
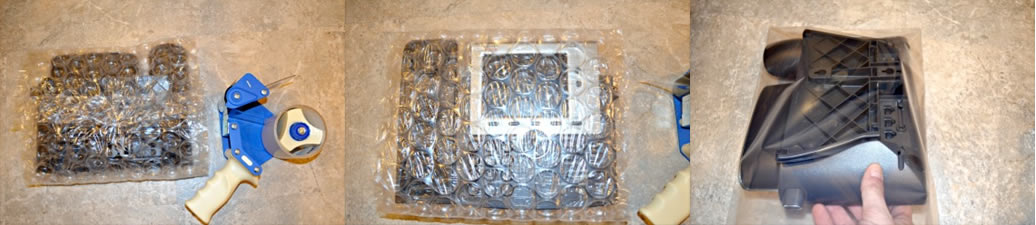
Step 4 – Once each phone has been bubble wrapped or bagged, simply stack them into two rows inside your shipping box much like you would stack books on a bookshelf. We typically advise sellers to place between 12-20 phones per shipping box, depending on the size of box you are using, stacking them neatly into two rows. Fill in any voids inside the shipping box with bubble wrap, paper, peanuts or other packing materials and securely tape each box closed.
Step 5 – Repeat Steps 1-4 until all phones are packaged and boxed for shipment.
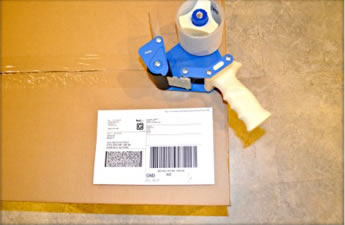
Step 6 – Place your prepaid shipping label(s) on each box, using clear packing tape to “laminate” each label to the top of each shipping box. You can also use the adhesive backed, clear label holders provided by UPS or Fedex if you have them available. Labeled boxes can be dropped at your nearest Fedex or UPS location, or you may contact your NetEquity.com representative to arrange pickup by the carrier.